 123456
Start with audio
Play the factory demo
Check the signal path before importing a file.
- Tap SOURCE on the main screen and choose DEMO (Factory Demo File). Press PLAY.
- Turn the first knob, VOLUME, to set the output level. On a new session the processing stages start off.
- Tap the COLOR name to select that section. Its adjacent POWER key enables it. If it was already enabled, this key switches it off.
- Hold the COLOR name and choose PATINA. Turn SQUEEZE clockwise for stronger compression; use NOISE for the noise layer and WOW for pitch movement.
Result · You hear the loop through PATINA. The LCD shows the selected type and its parameter values. Tap the COLOR power key again to compare the bypassed sound.
Import a track
Use a file instead of the Factory Demo File.
- Hold SOURCE to open SETUP → INPUT. Tap IMPORT AUDIO and choose a file in Files.
- Wait for loading to finish. If the file is in cloud storage, download it in Files first. SOURCE → FILE and IMPORT AUDIO use the same picker.
- Choose FILE in SOURCE, then press PLAY. DEMO, FILE and INPUT select alternative sources; they do not mix together.
Result · The selected track plays through JR FX. WAV, AIFF, CAF, MP3, M4A and FLAC are supported. A long track is handled from disk rather than loaded entirely into memory.
Select effects and play the pads
Select without switching power
Inspect another section while keeping the signal as it is.
- Tap a section name: COLOR, TONE, LOOP or SPACE. The LCD and three effect knobs follow that section.
- Tap the adjacent POWER key when you want to enable or disable it. This also selects the section.
- Hold the section name to choose another type. Each newly selected effect type opens with its default controls; adjustments remain available during the current instance/session.
Result · You can look at a bypassed effect before enabling it. The power state and selected section are separate controls.
Make a frequency cut
Remove the bass or treble while a beat plays.
- Hold TONE, choose ISOLATOR, then enable the TONE power key.
- Turn LOW down to kill the low band; turn HIGH down to kill the high band. MID changes the middle band.
- The default is LOW/HIGH at kill and MID at +5 dB. Raise LOW and HIGH when you want those bands back. Double-tap a knob to return that control to its default.
Result · You can isolate the middle band or bring the bass/treble back by hand. Bypassing TONE restores the untreated frequency balance for that stage.
Play an XY gesture
Change two parameters with one finger.
- Touch a performance pad at the point you want to start. Drag horizontally for its X parameter and vertically for its Y parameter.
- Tap HOLD before releasing if you want to keep the gesture active. Use RETURN to release the performance and restore the underlying settings.
- On smaller layouts use the pad-bank controls to reach all 16 pads. The iPad LCD XY area follows the first two effect controls.
Result · A pad becomes a two-parameter performance surface. Its printed X/Y labels tell you which controls will move.
Change a pad assignment
Use a different effect or axis on a pad.
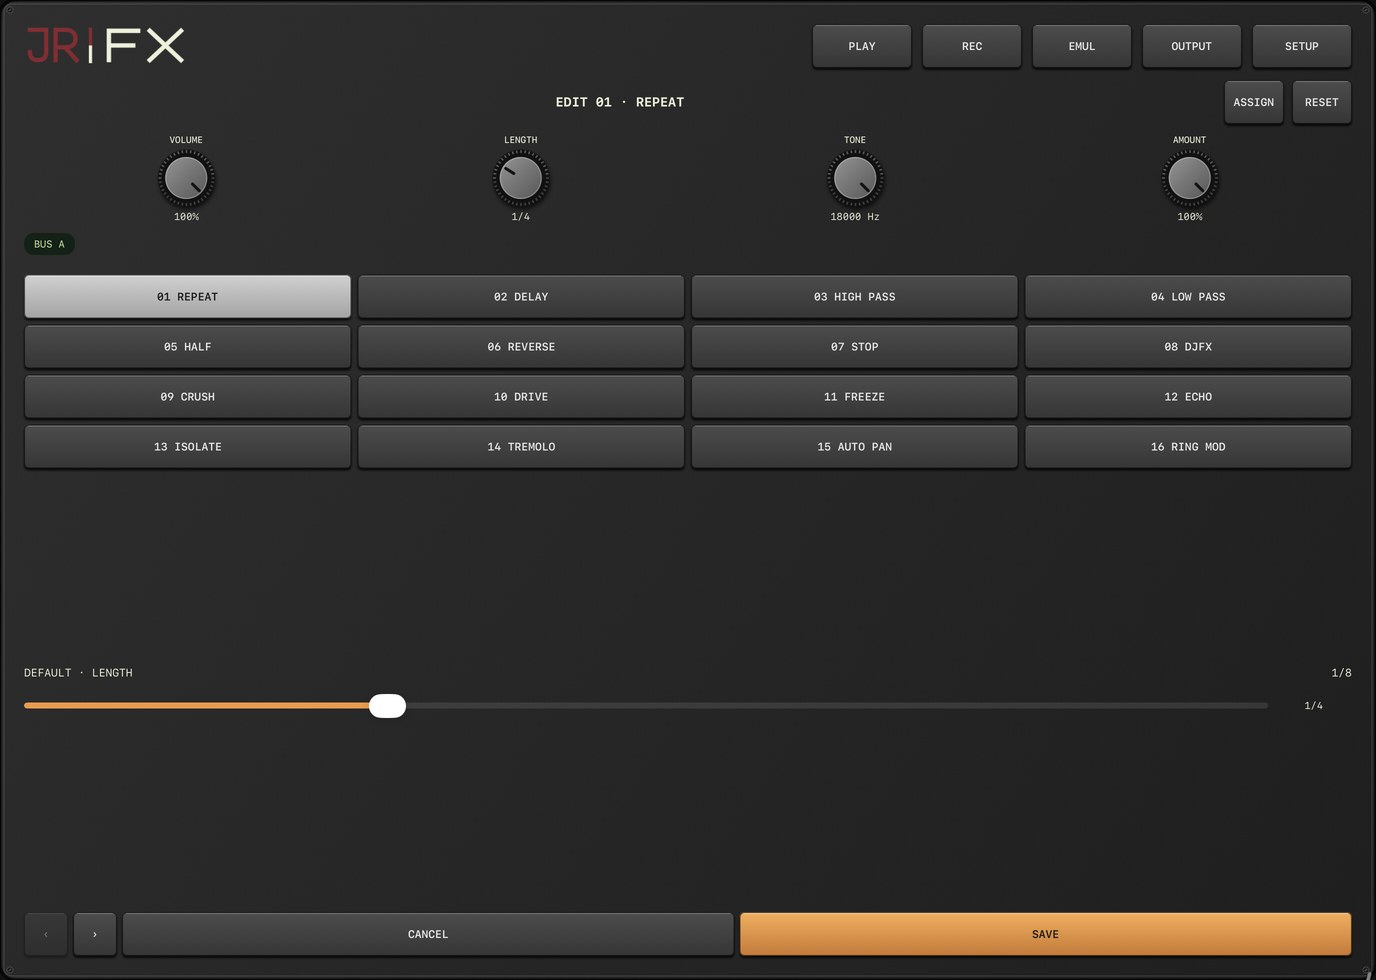
- Open EDIT above the pads and choose the pad to edit.
- Open ASSIGN, then choose the effect and the parameters for X and Y. Adjust the pad defaults in the editor.
- Tap SAVE to keep the assignment, or CANCEL to leave it unchanged.
Result · The pad label and gesture use your new assignment. Saved assignments are restored with the app or AUv3 project state.
Use DJFX LOOP
Capture and bend a short repeat
Move between live speed processing and a captured loop.
- Hold LOOP, choose DJFX LOOP, and enable the LOOP section with its POWER key.
- Set SPEED to +100 for normal forward speed. Lower it for slower playback; negative values run in reverse. At 0 the read movement stops.
- Turn LOOP SW past its middle threshold to ON to hold a short captured repeat. LENGTH controls the repeat size: clockwise makes it shorter.
- Turn LOOP SW to OFF to leave the held repeat. SPEED still affects the audio while the LOOP section remains enabled.
- Use the LOOP section power key to bypass the whole stage, including speed processing.
Result · Short lengths become a pitched/rhythmic texture. LOOP SW releases the held repeat; the section power key is the full bypass. These two switches do different jobs.
Route buses and finish the output
Use one bus or chain both
Separate two effect sets or run them in series.
- Tap the BUS readout in the LCD to open routing. In split A/B routing, select the bus whose effects you want to hear.
- Choose serial A → B when you want audio processed by the first bus and then the second.
- Use the main bus A/B controls to edit/select the required audio path.
Result · Split routing uses the selected bus path; serial routing keeps both stages in the signal path in order.
Add sampler character and output control
Apply character after the section effects.
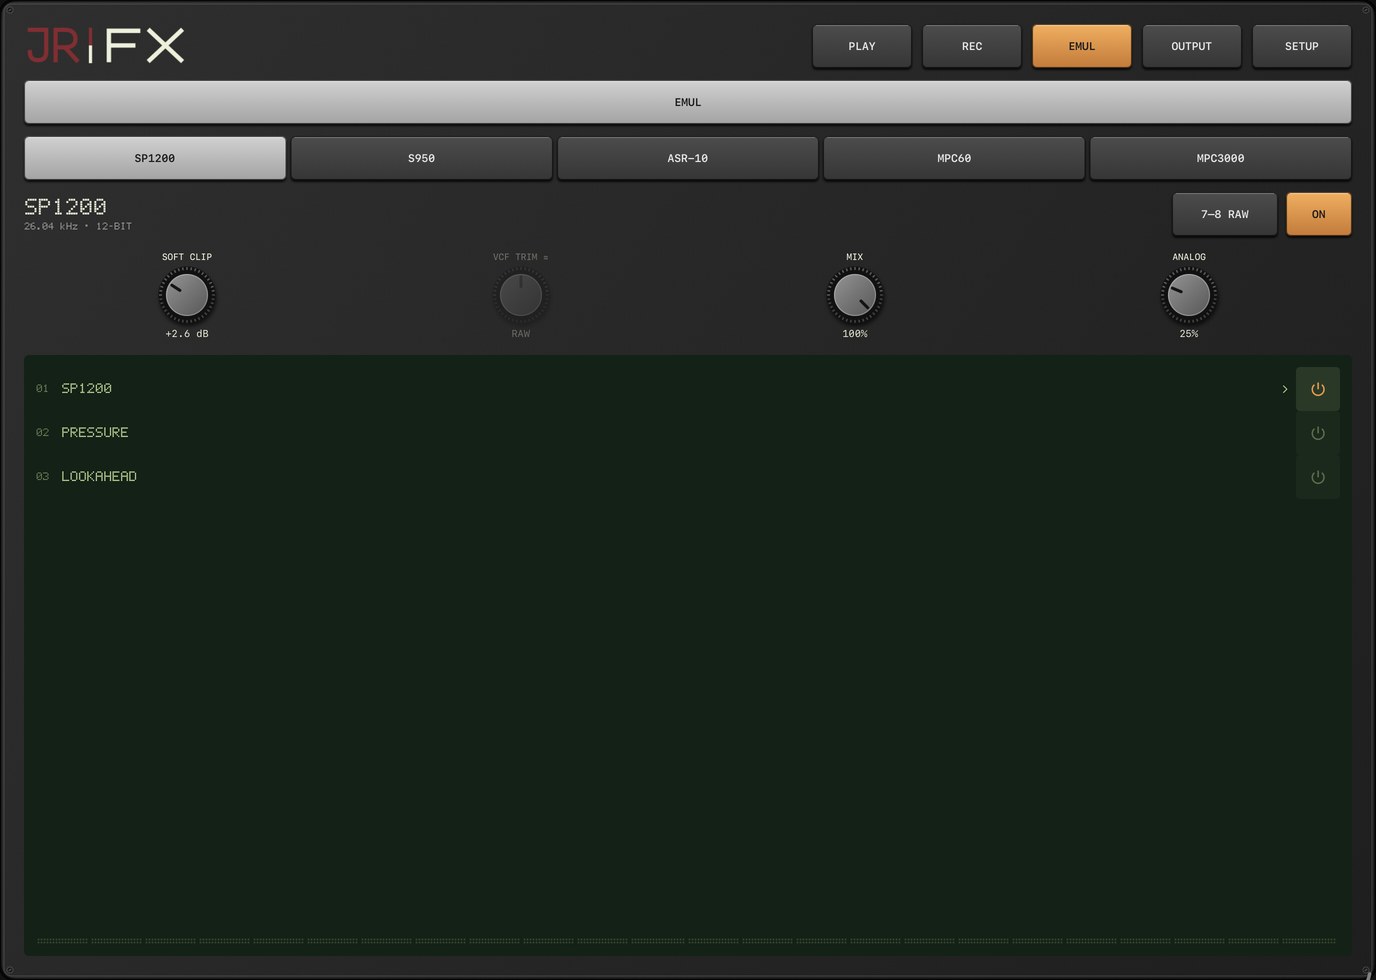
- Open EMUL, select a model directly, then enable it. Selecting another model loads that model’s defaults.
- Adjust SOFT CLIP for combined drive/clipping character and ANALOG for the output-circuit character. The other controls depend on the model.
- Open OUTPUT and choose COMP or LIMIT. Enable each stage separately and turn its displayed controls.
- Return by tapping the active page button again, the logo, or the empty header. The main sampler/COMP/LIMIT keys also toggle those stages; hold the sampler key to choose its model.
Result · The order is section buses → EMUL → compressor → limiter → output. A disabled stage is skipped. Models are documented/approximated DSP interpretations; see MODEL INFO for their limits.
Record a performance or export a file
Record the gestures you play
Capture the actual final output in standalone.
- Press PLAY first, then open REC → CAPTURE.
- Tap RECORD AUDIO. The panel closes and the take records while you play pads and turn knobs.
- Open REC again and tap STOP RECORDING. Playback continues; the take is finalized.
- Open TAKES to preview, rename or share the recording. Hold the main REC key to start/stop an audio take when available.
Result · The take includes your live changes and final output processing. Leaving the app ends/finalizes a take. AUv3 recording/rendering is done in the host.
Render an imported file
Export a file with the current effect settings, without recording a live take.
- Import a file, choose FILE, and set the effects you want to render.
- Open SETUP → INPUT and tap EXPORT WAV. Keep enough free storage for the result.
- Wait for completion and choose a share/save destination. Use CANCEL EXPORT to stop an in-progress render.
Result · The WAV uses a snapshot of the current settings and a fixed two-second tail. It does not replay earlier pad gestures. Use REC for a live performance or a longer echo/reverb tail.
Live input and AUv3
Monitor a connected input
Process a microphone or audio interface.
- Connect the interface, then choose SOURCE → INPUT. Hold SOURCE to open the detailed input page.
- Select the available device/channel pair. Choose L, L+R or R, set gain, and check the input meter.
- Enable monitoring explicitly. Use headphones when the input can hear your speaker output.
- If there is no signal, check the selected physical channel, permission, cable and device route before increasing gain.
Result · The selected input is routed through the active stages. INPUT does not simultaneously play the imported file.
Insert JR FX in a host
Process audio from another track or instrument.
- Load JR FX as an AUv3 audio effect in a compatible host.
- Route the desired audio track/bus into it and its output to the host’s main output.
- Enable the processing stages you need. Use the host for transport, tempo, automation and recording.
- Save the host project to preserve the AUv3 effect and pad state.
Result · JR FX processes host audio. It does not host another instrument itself; standalone SOURCE controls are a different workflow.
Skins, reset and support
Choose the interface
Change the surface without changing the audio.
- Open SETUP → INFO → SKIN. Choose Modern BK or a JR skin, then close the picker.
- Modern BK is the fresh-install default. Your explicitly saved choice stays selected. Modern choices are listed before JR.
- Double-tap a knob to restore that control’s default. To read model limits or credits, open MODEL INFO or the open-source licenses in INFO.
Result · Only appearance changes. Your effects, routing and recorded files stay as they were. When reporting a problem, include the version/build, device/OS, host, route and exact steps.
Included skins
| Skin | Surface |
|---|---|
| Modern BK | Dark hardware. Smooth lettering. |
| JR XL | Warm ivory. Bold pixels. |
| JR BK | Charcoal with ivory pixel keys. |
| JR BL | Deep blue with a lime display. |
Find a missing or unexpected sound
Check the source before the effects
Trace silence from the source to the output.
- In standalone, choose SOURCE → DEMO, turn VOLUME up gradually, and press PLAY. This checks the Factory Demo File independently of an imported file or physical input.
- If DEMO works but FILE does not, finish the file import and select FILE explicitly. A cloud placeholder must finish downloading in Files.
- If INPUT is silent, check its device/channel selection, input meter, permission and monitoring. FILE playback and INPUT monitoring are alternative sources.
- If DJFX LOOP is enabled, check SPEED: a value of 0 stops read movement. Switch the LOOP section off to compare. Also inspect enabled TONE and output stages.
- In AUv3, check the host track input, mute/solo, plug-in slot bypass and output route. The standalone LOOP/FILE controls do not supply host audio.
Result · The first working check identifies which route to investigate. Save your session before resetting settings or replacing a pad assignment.
Keep a repeat after the music stops
Choose live recording when effect tails matter.
- Start the audio take with REC → CAPTURE → RECORD AUDIO while the source plays.
- Perform the pad/knob changes. Let the echo or reverb decay before using STOP RECORDING.
- Use TAKES to preview the completed file. EXPORT WAV is a separate offline operation with a fixed two-second tail.
Result · A live take preserves the gestures and the tail you actually record. Offline export uses the current settings rather than a history of your performance.
Effect control reference
The master knob remains VOLUME. These are the three controls of each effect type. Some parameters use synced rates or conditional controls.
| Effect | Three controls |
|---|---|
| PATINA | SQUEEZE / NOISE / WOW |
| TAPE | DRIVE / BODY / FLUTTER |
| CONSOLE | DRIVE / TONE / BODY |
| TUBE | DRIVE / TONE / BIAS |
| PURE DRIVE | DRIVE / TONE / SAG |
| SOFT CLIP | DRIVE / TONE / KNEE |
| DISTORT | DRIVE / TONE / BIAS |
| CRUSH | BITS / TONE / RATE |
| RING MOD | FREQ / TONE / MIX |
| WAVEFOLD | FOLD / BIAS / TONE |
| ISOLATOR | LOW / MID / HIGH |
| LP | CUTOFF / RESONANCE / DRIVE |
| HP | CUTOFF / RESONANCE / DRIVE |
| BP | CUTOFF / RESONANCE / DRIVE |
| LADDER LP | CUTOFF / RESONANCE / DRIVE |
| LADDER HP | CUTOFF / RESONANCE / DRIVE |
| LADDER BP | CUTOFF / RESONANCE / DRIVE |
| SUPER FILTER | SENS / RESONANCE / RANGE |
| PHASER | RATE / DEPTH / FEEDBACK |
| EQUALIZER | LOW / MID / HIGH |
| RESONATOR | TUNE / DECAY / MIX |
| BEAT REPEAT | LENGTH / GATE / EDGE |
| DJFX LOOP | LENGTH / SPEED / LOOP SW |
| REVERSE | LENGTH / MIX / EDGE |
| HALF TIME | LENGTH / MIX / EDGE |
| TAPE STOP | BRAKE / CUTOFF / CURVE |
| TREMOLO | RATE / DEPTH / SHAPE |
| AUTO PAN | RATE / DEPTH / SHAPE |
| PITCH SHIFT | PITCH / WINDOW / MIX |
| SLICER | RATE / DUTY / DEPTH |
| ECHO | TIME / FEEDBACK / MIX |
| DUB ECHO | TIME / FEEDBACK / MIX |
| PING PONG | TIME / FEEDBACK / MIX |
| ORBIT | TIME / FEEDBACK / MIX |
| VERBITY | SIZE / DECAY / MIX |
| SPACE ECHO | TIME / FEEDBACK / ECHO |
| DELAY | TIME / FEEDBACK / ECHO |
| CHORUS | RATE / DEPTH / MIX |
| FLANGER | RATE / FEEDBACK / DEPTH |